Purpose
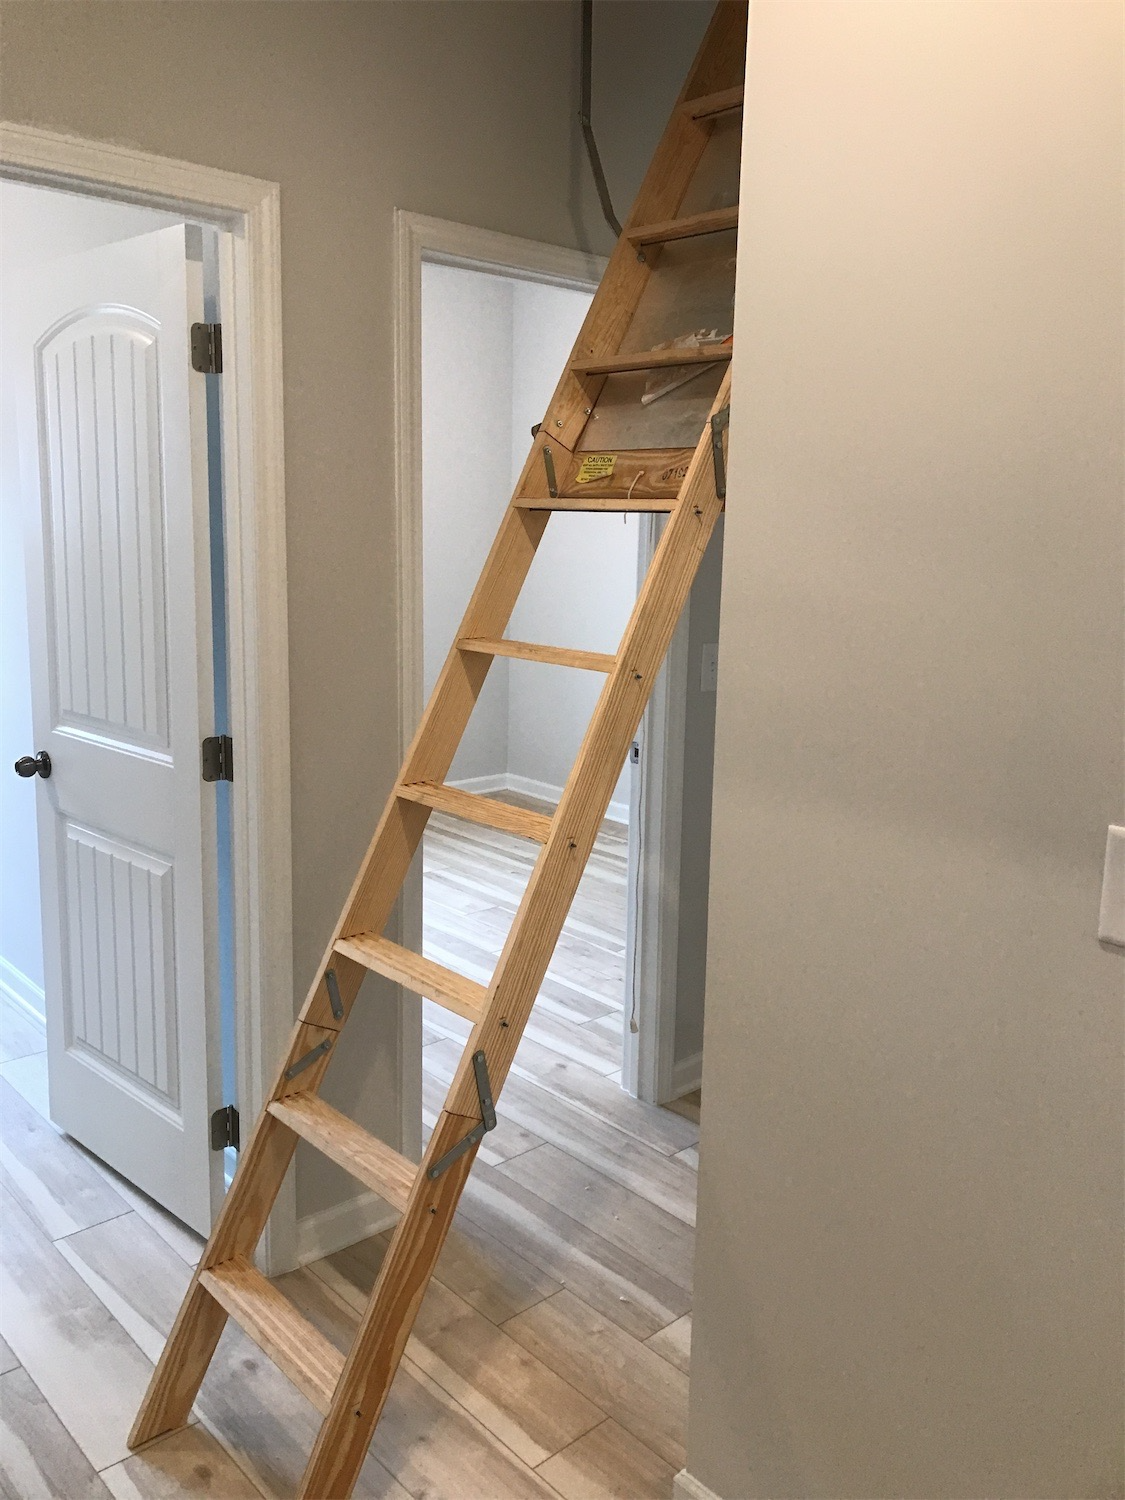
An attic ladder provides access to the attic space, which can be used for storage or extra living space. However, over time, the ladder may become unsafe due to wear and tear and may need to be replaced. This new attic access will make that valuable storage space much more functional, accessible, and safe to use.
Important Things to Note Before Getting Started
- Read the manufacturer’s instructions carefully before installation. Visualizing the process beforehand can prevent costly mistakes.
- Ensure that you have the right ladder size that fits the existing attic access and has an adequate height for the space below.
- Check the ladder and pull rope for damage and make sure that all fasteners and rivets are adequately tightened.
- Have an assistant to help you, as installing an attic ladder requires two people.
Removing the Old Ladder
- Use a pry bar to remove the frame of the attic ladder around the openings.
- Place 1×4″wooden strips around the frame’s openings on the front and back sides and use screws to keep them in place while you remove the permanent screws and nails that connect the ladder to the attic.
- Remove the permanent fasteners that hold the attic ladder frame to the attic using a portable ladder beside the attic ladder stairs. Utilize a hook-sled or claw hammer to eliminate the trims and nails.
- Push the attic ladder up from the bottom, and take the old one down via the attic entrance on the floor.
Preparing the Environment
- Install some temporary support for the ladder during installation. This will ensure measurements and placements can be performed free of the distractions of hoisting the equipment in place each time you make an adjustment.
- Ensure the pull cord is threaded through the hole and is terminated at the desired length, keeping in mind that it should be easily accessible by adults while being beyond the reach of children.


