Repair Options
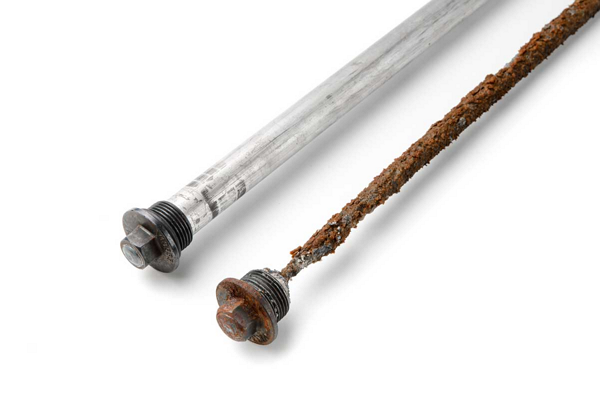
You have two repair options, replace the rod with a traditional sacrificial anode, or install a powered anode, particularly effective in hard water environments.
A standard anode is cheaper ($30-40), simpler, available in various materials appropriate to your situation, and requires little knowledge to install.
A powered anode is more expensive ($150), but effectively never needs replacement, produces no “rotten egg” smell as it produces no hydrogen gas, and is self-adjusting based on water conditions.
In either case, the job can be performed by the homeowner or by having a qualified professional replace the water heater’s anode.
Replacement
- Turn off the water supply with the valves usually found at the top of the tank.
- Ensure the unit is powered off by flipping the circuit breaker of the water heater. In cases of a gas-fueled water heater, turn off the gas.
- Drain the water heater using a garden hose, keeping in mind this water can be hot and you may need to take steps to keep children and pets safe. Relieving pressure by opening the nearest hot water faucet is good practice. Optionally, flush the tank to remove sediment.
- Locate the anode rod, usually found at the top of the water heater, though occasionally found on the side.
- Remove the old anode rod using a pipe wrench or socket wrench. Use a breaker bar if needed for better leverage.
- Install the new anode rod, whether traditional or powered, using plumber’s tape on the threads, and secure it in place with a wrench.
- Turn on the water and fuel supply, allowing the tank to refill. Once the faucet runs smoothly without air, close it, and check for leaks. Turn the power back on for electric heaters or adjust the gas control for gas heaters. Relight the pilot light if necessary, following the manufacturer’s instructions.
Replacing the sacrificial anode is a relatively simple maintenance task for a homeowner and can save a few hundred in service costs. See the video below for more.


