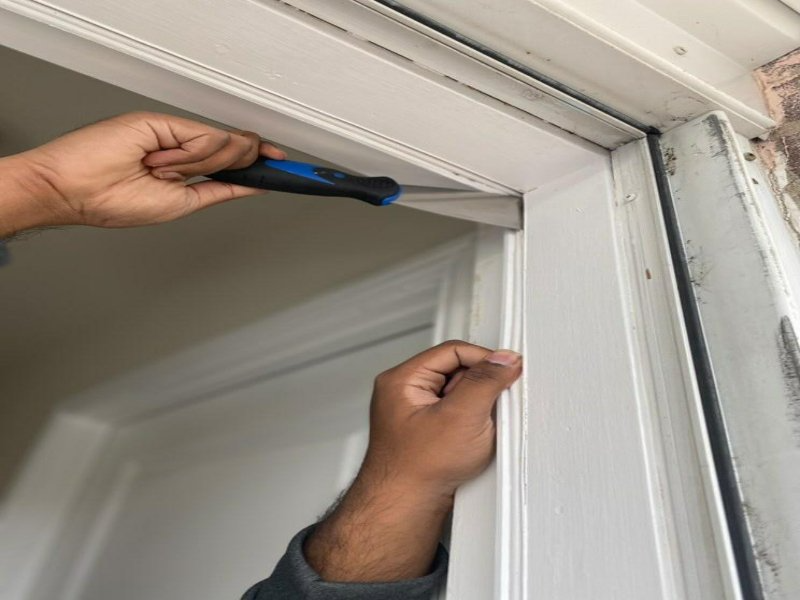
Drafty doors can be a source of discomfort and high energy bills. Fortunately, weatherstripping can solve both problems. According to Energy Star, installing weatherstripping can save up to 20% on heating and cooling costs. Fortunately, weatherstripping is an easy DIY project that can be completed quickly with the right tools and materials. To ensure maximum insulation, it is important to install weatherstripping correctly. Follow these steps to properly weatherstrip your doors:
Tools and Materials
- Tape measure
- Sponge
- Weatherstripping
- Drill/driver
- Scissors
- Door sweep
Step 1: Prepare the area and take measurements. Clean the door and jamb thoroughly and measure the length and width of both sides and the top and bottom of the door.
Step 2: Tighten the door’s hinges. Make sure the door hinges are tight to ensure an even fit for the weatherstripping.
Step 3: Measure the jamb. Measure the width of the gap between the door and jamb, as well as the jamb itself to determine how much weatherstripping to purchase.
Step 4: Choose the correct weatherstripping. Choose weatherstripping that is durable and suitable for your door. Felt weatherstripping is cheap but not durable, while rubber is the most expensive option but offers excellent insulation.
Step 5: Cut your weatherstripping into segments and check the cut. Cut three pieces of weatherstripping – one for the top and two for the sides – and check their length before installing.
Step 6: If required, adjust the cut. Trim the weatherstripping if necessary to ensure a proper fit.
Step 7: Tack, snap, or adhere the weatherstripping to the door. Peel the adhesive backing and press the weatherstripping around the perimeter of the door jamb. You can reinforce the installation with staples or small nails.
Step 8: Install a door sweep. Attach the right-sized door sweep to the bottom of the door using screws, and position it tightly against the threshold.


